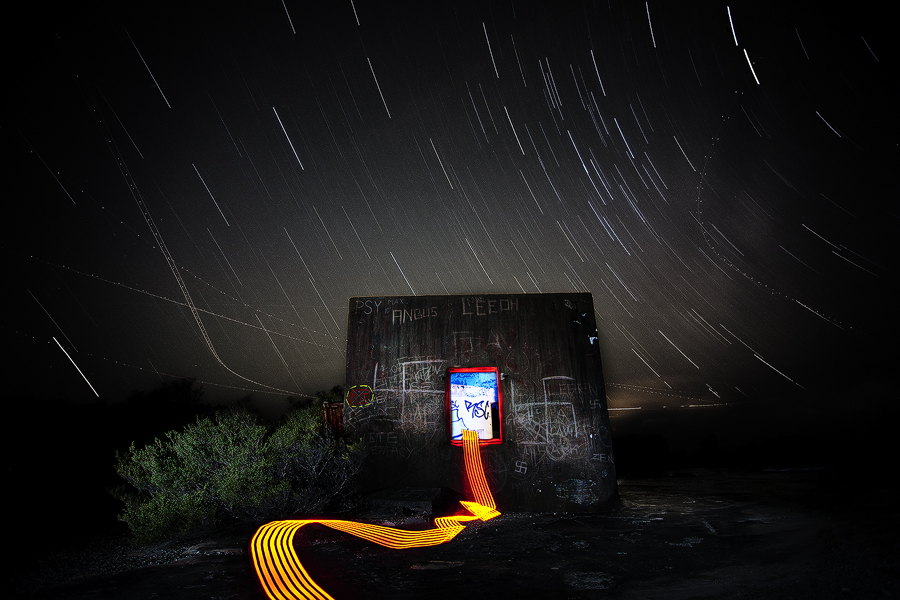
Northhead National Park, Australia
I’m hoping this is in the interest of the greater photography community for which I would like to give something back. In this light painting tutorial I want to show that technically light painting is quite easy, I think generally people are limited by their imagination. I really can’t see the point of painting with light and making a shot that looks like it was photographed during the day. What’s the point, just shoot it during the day? I would far rather make something creative that can only be done in the dark using these techniques.
I don’t profess to be an expert, this is the first time I’ve really done anything like it, I just wanted to share my experience and hopefully inspire something great or at least better 🙂 In the words of The Streets “let’s push things forward”.
This is a two part light painting tutorial, the capture and post…..to the capture:
THE CAPTURE
With my Canon 5D on a tripod about 20 feet from the bunker pointing East away from Sydney which lies to the West and Manly to the North I was able to minimise light pollution. In retrospect I should have used a lens hood to further reduce this but with such a wide angle the difference would be minimal. With my flashlight I was able to auto focus on the window frame. Changing the focal point to an area with contrast, in this case where the window frame meets the concrete the auto focus was able do its thing. It was way too dark to do it manually. Once the focus was locked in I switched the focus back to manual and didn’t touch it again.
I opened up the aperture to the maximum which at this focal distance, 17mm was F4. These settings along with an ISO of 400 remained constant throughout the process. In bulb mode I used the shutter release to start and stop the capture as necessary. Each element was captured separately to save sanity. If you stuff it up you can easily do it again each time adjusting the timing to decrease or increase the exposure.
The first frame was the result of a 30 minute exposure. This was enough time to get some really nice long star trails and capture a few plane trails too. I was up there with some other light painters (I get scared) who’s lights you can see moving around in most of the frames, not to worry we can sort that out in post.
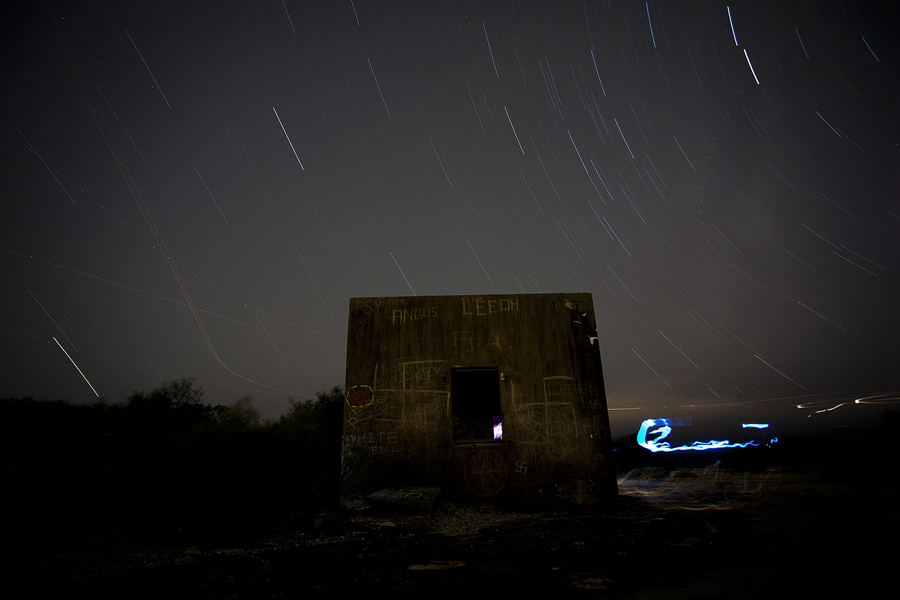
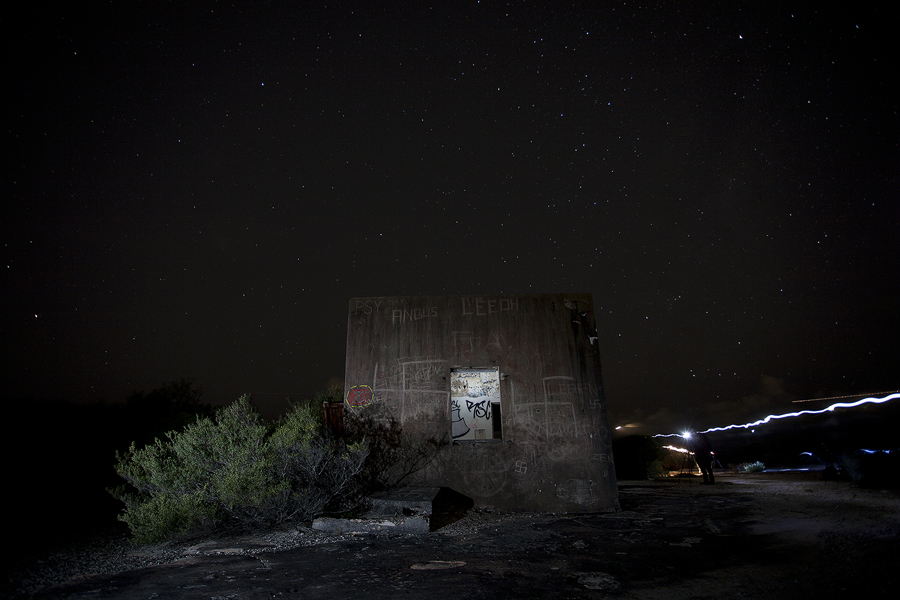
In the second frame the shutter speed was 26 seconds, enough time to expose the window frame (more luck than skill). Here a torch with a red gel was circled around the window frame for the entire time. Remember to stand to the side when light painting so the camera can capture your handy work. Also try and paint evenly and don’t hover in one place to obtain an even exposure.
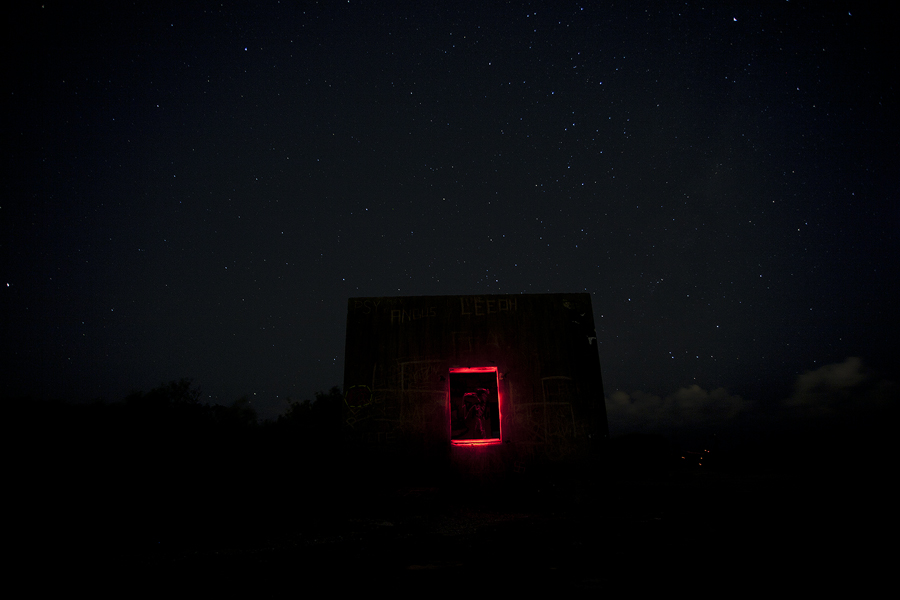
Similar to the previous shot but this time one of the guys used a purple gel over the touch inside the bunker. This was a 60 second exposure with the bunker being partially light with a rather powerful light box for one of the other photographers.
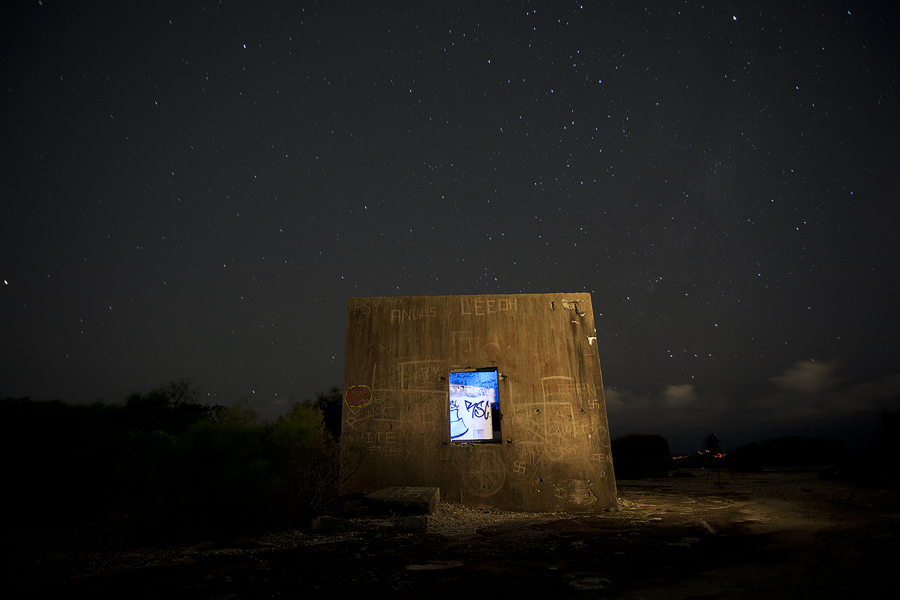
Now with a bare speedlight (Canon 580EX) in hand set to Manual mode and a low flash power of 1/32 (left at this setting from earlier in the night) I walked over to the right side whilst staying out of the frame and fired the flash a couple times. I wanted to light up the bunker and also get some foreground detail to the right. This frame took approximately 30 seconds, the time for me to walk over, fire the flash a couple times and then come back to switch the shutter release off.
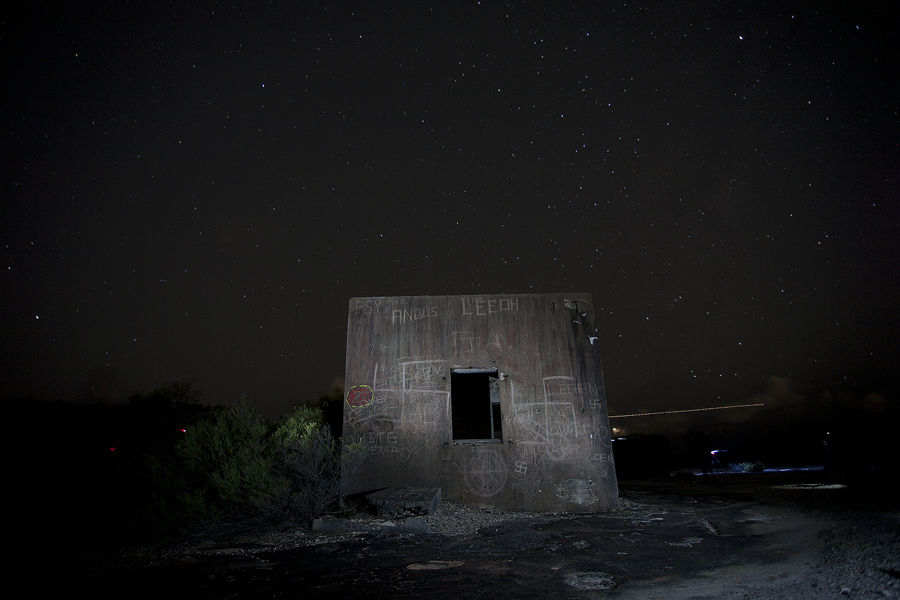
A similar exposure this time concentrating on the left foreground, the bunker and the bush.
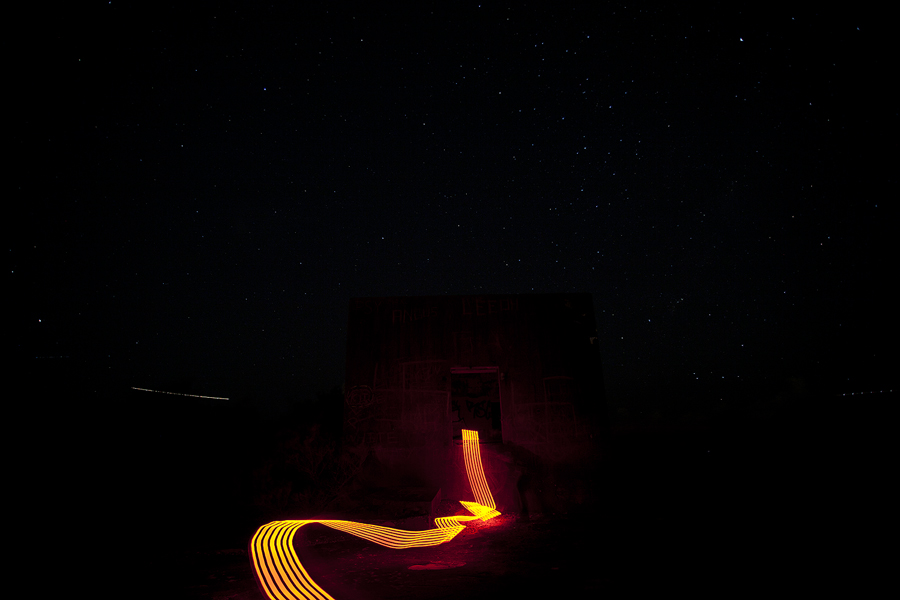
The final image took a few takes with a friend trying to wave the light wand as directed without falling over in the dark. This effect was achieved using a Cold Cathode Light taped up to create a striped effect. It is supposed to represent a flow of light similar to water coming from inside the bunker out and down like a stream. It is used to create interest, lead the eye into the frame and anchor the bunker.
POST
In Photoshop after processing all the RAW images I use layers and layer masks to reveal each aspect.
1 Comment