The best camera is the one that’s with you, unfortunately the camera in question is generally my iPhone. That’s the thing with fancy camera’s (my 5DmkII), they are big, heavy and not so discrete. Especially when you want to shoot time lapse in a revolving restaraunt whilst out with the mother in law. So the iPhone will suffice, actually in this case it is great, almost perfect. Of course it comes with its own quirks, but don’t all cameras?
A few months back I installed iLapse an iPhone time lapse app after the developers kindly offered it up for free.
iPhone time lapse has its time and place but really is it a substitute for the real thing? Sadly no, but really does anyone really think the iPhone is a substitute for a real camera? Well yes they do, but they are wrong. When shooting time lapse using a full blown stills camera it basically comes down to firstly being able to switch everything to manual and secondly remember to do it. With this in mind we need to switch the focus to manual, lock the white balance, set the shutter speed, ISO, and aperture. So how can we do this with the app? Well you can, somewhat….here’s how.
Best practice:
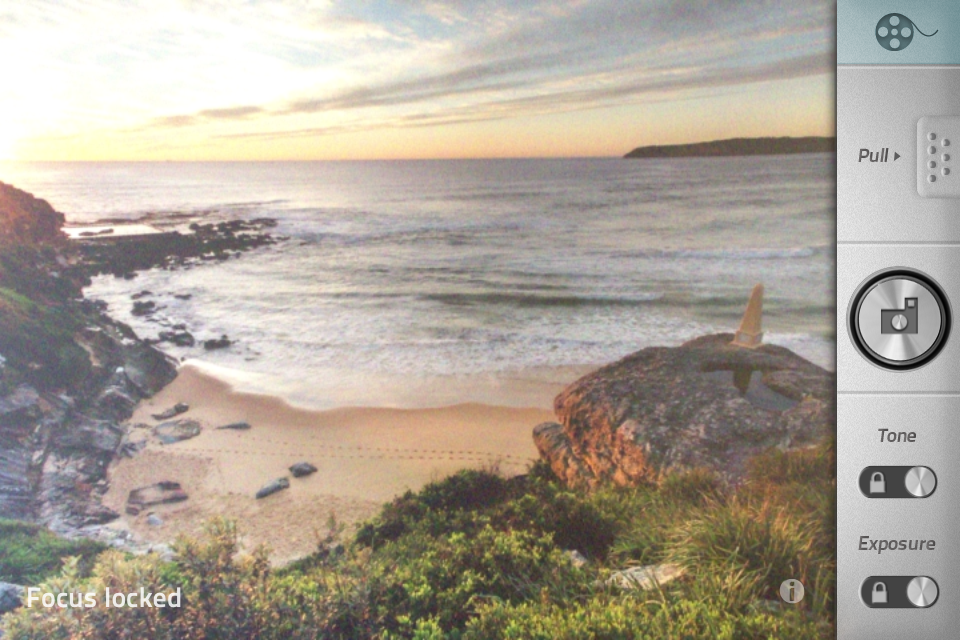
1. Set the exposure by pointing the camera and what we are about to shoot (or want to expose for), let the camera figure out the correct exposure then lock the exposure using the Exposure lock slider. If the image is too bright point it at something brighter to fool the camera into making the exposure darker then lock the exposure slider. The same can be done if the image is too dark.
2. Set the tone which is effectively the white balance for the light source you are using. All you need to do is ensure you allow the camera to pick the tone then lock it off using the Tone lock slider as you did with exposure.
3. The words ‘Focus locked’ in the bottom left corner of the screen are very important. Set the focus by tapping the screen where you want to focus (doesn’t need to be too exact). The words ‘Focus locked’ should now appear. If you don’t do this the app/camera tries to track movement which results in the lens momentarily zooming out and in to find focus. It does this in a very unsubtle manner which doesn’t translate well in the final timelapse. You see see this happen in the first few seconds of my time lapse short and the beach scene at the end.
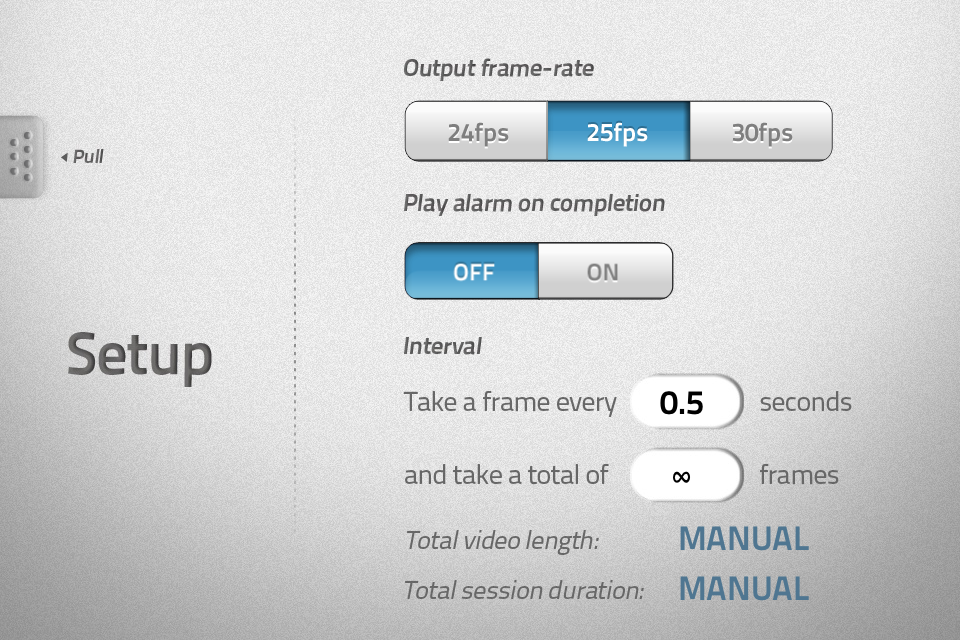
4. Selecting the desired interval (period at which frames are taken) will depend on the look you are after and also how fast things are moving within the frame. The faster objects move within the frame the further away you will need to shoot (so they appear to move slower at a distance) or the faster the interval you will require. This will ensure anything that is passing through the frame won’t momentarily appear as a blip. For the above footage I shot most of the scenes at an interval of 0.5 seconds apart from the very first sequence (Alto Restaurant, Canberra – slow moving revolving restaurant) which was filmed with an interval of 10 seconds and the last sequence (Long Reef – beach/sunset) which was filmed with an interval of 5 seconds.
5. The Output Frame Rate can be selected based on region of transmission and isn’t too relevant if uploading to the internet, I use 25fps (frames per second).


6. Battery life is an issue with longer time lapse sequences as the screen is on the entire time. Be mindful of this, ensure your phone is fully charged and be sure to stop the capture sequence before your phone runs out of batteries.
7. If you lock the phone and then unlock it whilst the app is running the exposure and tone will reset regardless if they were locked. Be sure to set them again before recording (unlock then re-lock).
8. How long do you need to shoot for? Well if the output is 25fps and you are shooting at an interval of 10 seconds then it will take 250 seconds (over 4 minutes) to generate enough footage for a 1 second long movie clip. If the interval is 1 second then it will only take 25 seconds to generate each second of footage.
9. Use an iPhone tripod mount if you have one to keep your phone stable and level when shooting. They can be purchased for only a few dollars, just search for ‘iPhone tripod mount’ on eBay or similar.
10. Well I can’t have 9 tips can I? Go out and practice, see what works in different situations or even try other time lapse software to see which you prefer.
Well I hope that helps, as you can probably tell I didn’t listen to most of my advice when shooting the clip above. Oh well, I can but improve. I hope it at least gives you some good ideas of what to shoot and shows you what is possible with an iPhone in regards to time lapse.
Please ask any questions you may have below, leave a comment or share this article.


